Halloween crafts: paper pumpkins
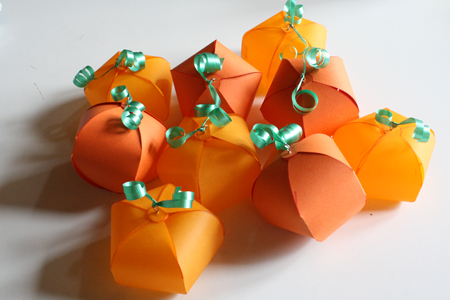
Now that we’re halfway through October it truly is the season of creepy dolls and intricately mutilated gourds. I’m not usually big on decorating, except at Christmas, because there just isn’t room in our place. (Where does Martha Stewart keep all her gold plated pine cones, swan feather wreaths and foil-wrapped heart garlands in the off seasons??)
While cruising the internet last week, I found this neat little pattern for paper lanterns. It might be the most diversely adjustable template I’ve ever seen, actually, but more on that in the coming months. It occurred to me that this template could be modified to make paper pumpkins. So I’ve made my own template based off that paper lantern one and made you a lovely autumn tutorial on how to put it together.
What you’ll need:
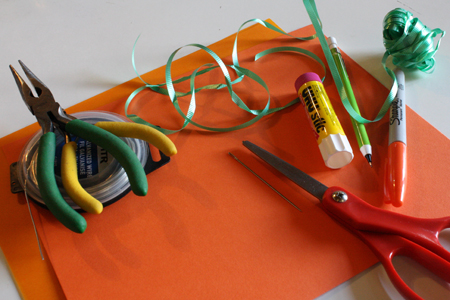
- orange paper (experiment with different types and weights, like normal computer paper weight, cardstock, velum paper, etc.)
- a printer (or you can draw your own template)
- scissors
- a pencil
- glue
- a large needle
- wire and needle-nosed pliers OR a needle and thread
- green ribbon
- paper pumpkin template
Putting it all together:
1) Print the template onto your orange paper. Or you can print it on normal paper, cut it out, and trace it onto your orange paper. You’ll have to do this if you’re using velum or other specialty papers that your printer can’t handle.
2) Cut out the templates.
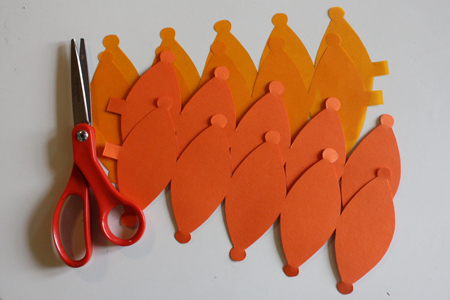
3) Fold the paper between each segment to crease it. Also fold down the little round tabs at the top and bottom of each segment, and the rectangular tab at one end of the template.
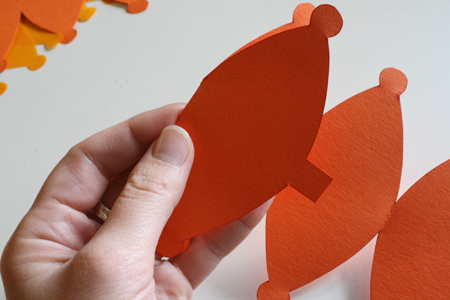

4) Using your needle, make a hole in the middle of each circular tab.

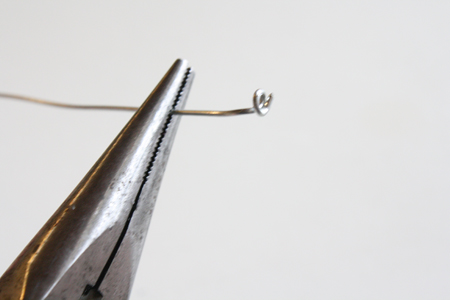
5) If you’re using wire, use your needle-nosed pliers to make a little loop at one end so it won’t pull all the way through the paper. Then, starting at one end of the template and working your way along, string each round tab onto the wire, one at a time.

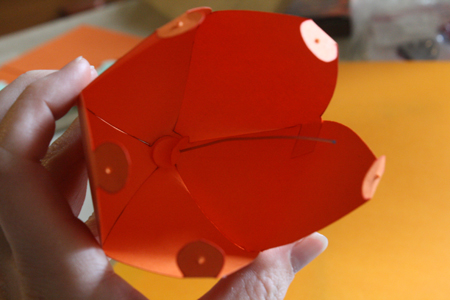
If you’re using a needle and thread, knot the thread and do the same thing, stringing each tab on one at a time.
6) Glue the rectangular tab to the inside of the segment next to it. Let it dry. This will allow the paper to hold itself in a globular shape.
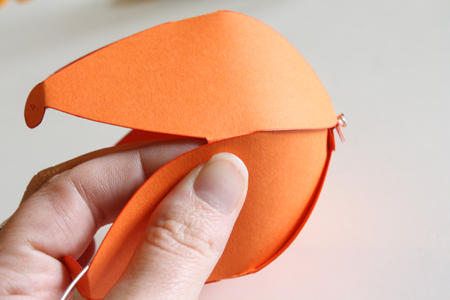
If you want to put candies or other treats inside the pumpkin, do this now before moving on to the next step.
7) Once the glue is dry, string the top circular tabs onto the wire (or thread) one at a time.
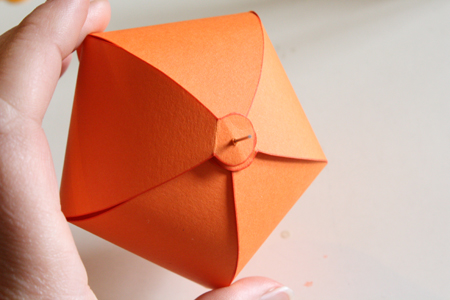
8) Make another loop in your wire, holding the top of the pumpkin down and giving you a place to attach ribbon, string, etc.
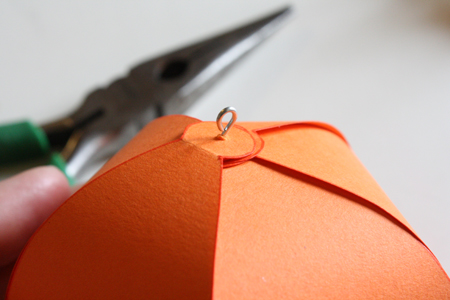
If you’re using thread, make a small loop and knot the thread securely at the loop’s base.
9) Tie a short length of green ribbon to the loop and curl it using your scissors.
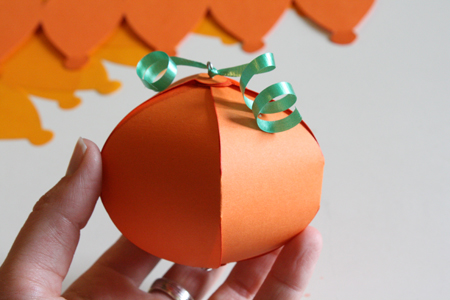
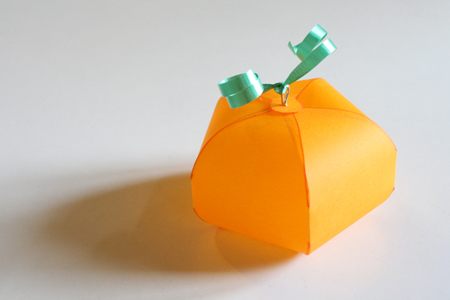
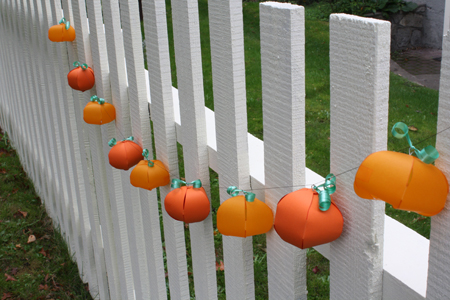
10) Decorate! You can put the pumpkins in a bowl or on a table, tie them to some string to make a garland, fill them with candy and give them away. (That last one is a great idea for getting rid of them. Use them to decorate your house for a couple weeks, then give them away as treats and voilà: no storage problems!)
Không có nhận xét nào:
Đăng nhận xét