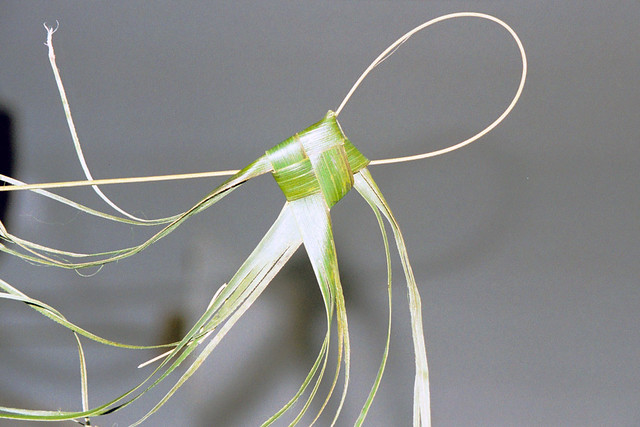


Split the leaf Using a pin split the leaf in three, separating the hard center vein from the leaf at both sides. Leave the last 2cm intact at the side that was connected to the palm. |
| Carefully run your nail along the vein to soften it so that it’s more pliable. Fold the vein back on itself and tuck under the leaf where it’s still connected. It might be easier for you to use a tiny bit of putty or Oasis fix to keep the vein in place while you practice doing this and later you will find it’s easy to hold in place while you weave the body. |
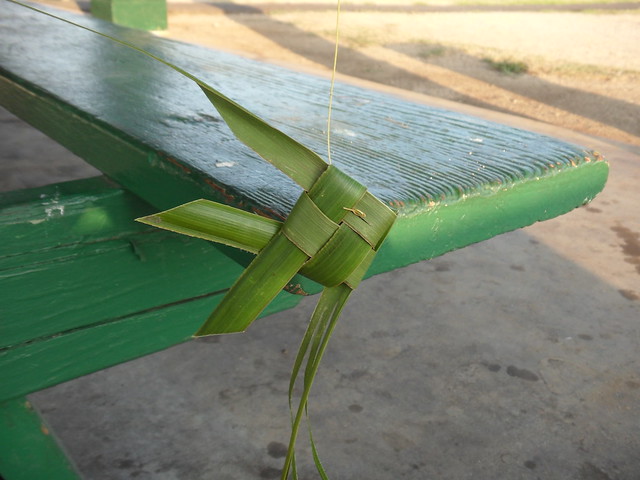
| Start weaving the body |
| Continue weaving the body two or three more times depending on the length of your palm leaf. |
| Butterfly Body |
| Create feelers (Antenna) by tucking the two sides of the leaf into the vein loop and pulling the vein snug. Separate the side strips and carefully run your nail through the length of each to curl as you would ribbon. |
| Tie and curl the Butterfly Feelers |
| Top of the Butterfly Finish off the body by weaving the long center vein around itself and cut short. Cut the tail end if required. |
| Fly or Hop? |
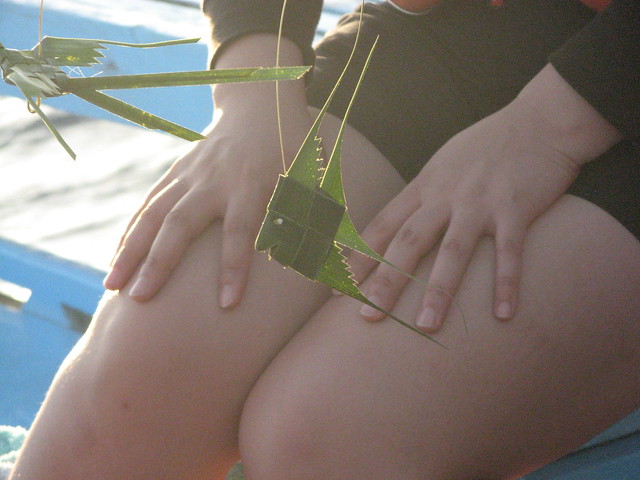
| You can now add leaves for wings or cut the left-over vein in 2 for legs to tuck into the body. |
| Grasshoppers Read more: http://www.christinedebeer.co.za/?p=1119 |


 | You can use any round flower loom to weave the butterflies. I like to use Hana-Ami shadow clover. looms with twelve spokes will also work, but you'll have to experiment to see what you want. If you use a shade with 24 spokes, your wind shadow , leaving the empty three-spoke in the top and bottom. For the 12 said the loom, I would try to leave an empty saying. |
 | Subject needle with yarn you want to weave with. You will need to cut the yarn long enough to ensure the center and weave a large wing. Start by weaving a single thread, under the same (and so on), the opposite is true. Write 4 "/ 10cm tail to weave in the beginning later. |
 | When you went all the way around again, the next round is going to weave a single thread in one, and so on all around. You'll be weaving a theme that you went for the last time. |
 | Pull the yarn tight enough, as you weave. This will ensure that the center of your butterfly and stop it from losing its shape when you remove it from the shadows. |
 | At the bottom of the machine to move one or two loops with a spoken form of the lower wings. If you use a 12 spoke shadow does not worry about moving them, not just weave them yet:) |
 | Weave the upper wing, is going under a stream over a whole. Repeat these steps for each row of weaving. Weave as many lines as you want, then squash in a couple to fill the loop stream, when you take the butterfly from the loom. Cut the thread, leaving a 4 "/ 10cm to darn in later |
 | Weave the other wings in the same way. |
 | When you have finished weaving, make a butterfly with a loom |
 | and gently insert the refill line weaving loops, which remained on the pegs. Secure loose ends of yarn threads on their hinges at the back of the weaving. |
 | When you are finished you will have the basic shape of a butterfly. You can experiment with stripes (just leave a few inches at the end of each color, and darn it later), or variegated yarn with short wavelengths of each color. |
 | Make all the parts you want for your scene. See my article on the use of colors loomed embroidery ideas, and my article about embroidery on the flowers . |
 | To embroider your body butterfly and attach it to the background at the same time, make one big stitch up the center |
 | Then bring your yarn from the right side, slightly higher than in the upper part of the center stitch. |
 | Subject yarn under center stitch |
 | and take the yarn to the back on the left side. Protect your thread on the wrong side F of your work. Now you have a ready-made butterfly firmly attached to your background fabric. Repeat these steps for your other butterflies. You can experiment by changing the length of the body stitch length of the antenna, adding sequins or beads to the tips of antennae or embroider more information on the wings. Found on the internet |